The tutor began the session with a presentation to outline the basic structures and forms that can be considered when working with clay.
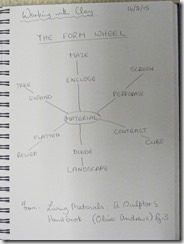
She referred to “The Form Wheel” which is a basic diagram demonstrating the different ways in which to illustrate form. (Andrews, O. 1988, p. 3)
I have made a basic copy of the form wheel, taken from the book Living Materials: A Sculptor’s Handbook, by the late Oliver Andrews.
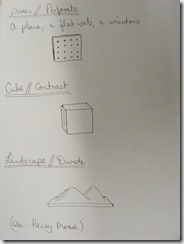
The following diagrams give a basic idea of what the forms mean, again taken from the book:
SCREEN // PERFORATE
This takes the form of a plane, a flat web or a window. The illustration shows a flat slab with perforations.
CUBE // CONTRACT
This is a bare form without embellishments. It could also be a sphere.
LANDSCAPE // DIVIDE
When two or more forms are set on a base and they then seem to interact with one another, this is said to be a landscape form. See the works of Henry Moore.

Hill Arches. (1972-73). Bronze. Henry Moore. pt.wikipedia.org.
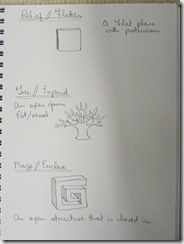
RELIEF // FLATTEN
This refers to a flat plane with protrusions.
TREE // EXPAND
This is an open form and can refer to a pot or vessel.
MAZE // ENCLOSE
An open structure that is closed in.
During the course of these electives I hope to discover more about the different forms.
WHAT IS CLAY?
Clay is a natural material that is a combination of mud and decayed vegetable matter (Andrews, O. 1988, p.9). It can be moulded into an almost infinite variety of forms. Although it is durable, it is also very breakable. Its durability is improved by glazing and firing, which also make it waterproof.
It can be strengthened by the addition of other ingredients such as grog (sand) and fibre.
Exhibit in the African collection of the American Museum of Natural History, Manhattan, New York City, New York, USA. 2 April 2012. commons.wikimedia.org
TYPES OF CLAY (Andrews, O. 1988, p.10)
Residual Clay (Primary): This type of clay can be found near where it was originally formed, from silica-bearing rocks. It is fairly coarse and pure. It is one of the main ingredients of porcelain.
Sedimentary Clay (Secondary): This is formed originally from primary clay, but it has been carried away from the original place where it was formed by the weather. It is finer as a result and also contains more organic matter. As a result of this it is more elastic. A type of sedimentary clay is “ball clay”.
Stoneware Clay: This is a mixture of either primary or secondary clay with other clays to produce a particular type of clay used to produce stoneware. Once fired it is usually coloured brown or grey. It is used for sculpture and pottery.
Fireclay: This is a heat resistant clay that is often used with stoneware to improve its heat resistance. It is used to make bricks to line kilns and furnaces.
Ball Clay: This type of clay contains a large amount of organic material, so it is added to other clay to make the mixture more “plastic”.
Bentonite: Like ball clay, this is added to other clays to improve the texture and make the mixture easier to work with.
Porcelain: This type of clay contains large amounts of kaolin, allowing it to be fired at high temperatures without losing its shape. It transforms into a hard, glasslike material. It is used to make electrical insulators and laboratory equipment.
Earthenware: Also known as terracotta, this is used for pottery. It is usually fired in wood kilns and is fragile and not waterproof.
Aggregates: These are added to clays that are too sticky and difficult to work with. The best known is “grog” which is a sandy substance that is made from fired clay that has been ground and sifted. Grog allows clay to dry with less warping and shrinking. Sand is another aggregate that can be added to clay.
BASIC MATERIALS REQUIRED WHEN WORKING WITH CLAY
* Board
* Clay
* Water and water spray
* Tools for working with clay
* Plastic sheets / bags, Jay cloths
* Kiln
* Glazes / paint / varnish
LESSON ONE: THE PINCH POT
We began by covering a piece of thick cardboard with a plastic bag and taping it together at the back. This would serve as a surface upon which to work, and also provide a surface for the clay to rest while drying, as moving the form when wet would cause it to distort.
The tutor gave each student a piece of clay.
After dividing the clay into two pieces, the task was to produce two pinch pots, similar in size. A pinch pot is produced by rolling the clay into a ball, then pushing the thumb into the ball until there is about a centimetre left below the thumb. The clay is then pinched and manipulated around until the sides are made thinner and a pot shape is achieved.
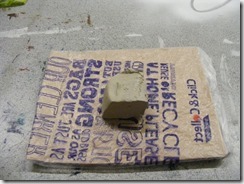
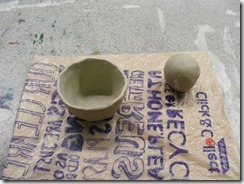
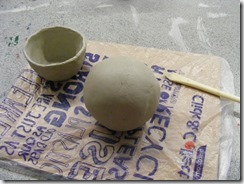
This picture shows my first pinch pot next to the second ball of clay that has yet to be worked.
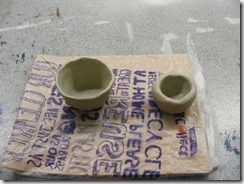
The second pinch pot taking shape.
At this stage the tutor informed me that the sides of the first pot were too thin, so she gave me a replacement ball of clay to begin again.
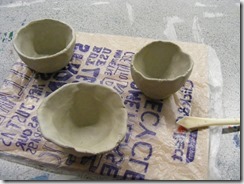
The two thicker pots are in the foreground of the picture. The front pot has had its edges pinched out a little, and the pot behind it has had the edges pushed slightly inwards.
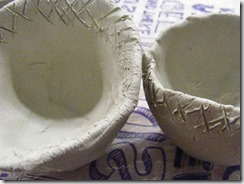
This picture shows crosshatching scratched on the inside edge of one pot and the outside edge of the other. I applied a little water to the roughened edges and fitted the pots together, then smoothed the join as best as I could.
The result: a hollow ball of clay. At this stage I was not aware of the final outcome, so had rolled the clay into a ball shape. This was not correct. The required shape was to be like an egg. I had to reshape this ball.
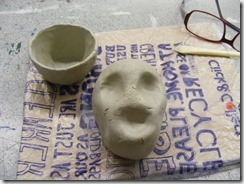
Imprints made by gently pressing the clay with the thumbs. This must be done gently as the clay can crack and break easily. Some cracks have already appeared in my clay “head”.
The back of the head also needs to be shaped, with an occipital bulge at the back. My clay was a little overworked and I found this difficult to do without cracks appearing.
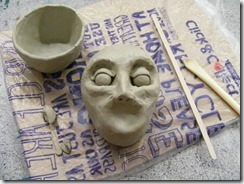
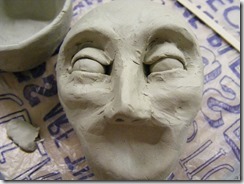
Small sausages of clay are then added above each eye socket to form brows, and also below the eye sockets to form cheekbones. The clay must be smoothed gently but firmly until no joins are noticeable. The eyeballs are then added, followed by eyelids, both above and below the eyeballs.
A larger sausage is placed down the centre, with two small balls placed either side at the base to form the nostrils, shaping and smoothing as before. The tutor brought our attention to the fact that the shape of the nose is similar to the figure 8. This helped keep in mind the shape that we were trying to achieve.
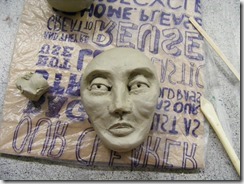
The photograph shows how my head looked at this point.
Bottom eyelids added. This face is beginning to look a little creepy!
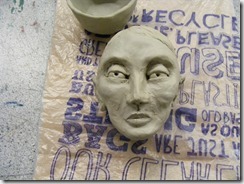
In this photo I have given the eyes pupils, then added an upper lip, followed by extra padding on the chin, then a lower lip.
I also found I had to pad out the cheeks with more clay.
The final head with ears and hair added. It really does look awful, but perhaps I should not have attempted to make it realistic. It has been a great learning curve though, and I have enjoyed the lesson.
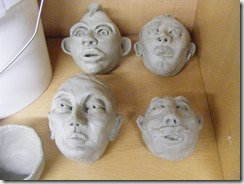
Photograph showing the heads made by the class. Mine is bottom left.
REFERENCES
Andrews, O. (1988). Living Materials: A Sculptor’s Handbook. 1st paperback printing: California: University of California Press

